Evolution of a Chicken Coop
Well, we have almost come to the end of our winter chicken coop-building process. It was not without some hurdles to navigate and has taken longer to complete than I had envisioned, but seeing our flock settle in for the impending Alberta winter has been deeply satisfying.
Part 1. We believe in recycling/upcycling as part of our eco-minded mantra and wanted to progress as
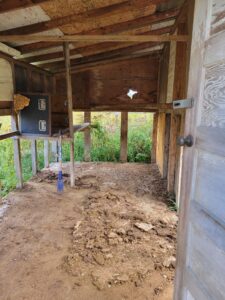
quickly as possible, so we opted to utilize a structure already located on our new farm. It had obviously housed poultry in the past, but would need some work to be able to do so again. I think originally the shed’s dimensions were 12’x16′. However, it was not square, and our double insulation method would reduce/change this.
First, I shoveled out a few seasons’ worth of old manure, took out the roost and steamer trunk nesting?/brooder? box (interesting use for a steamer trunk), and we replaced broken/missing sheets of OSB with new pieces on the outer wall.
Part 2. Before we sealed the shed in completely, we moved a second, smaller shed, gifted to us by our

friend Dave, inside the larger one (I’ll explain why further down).
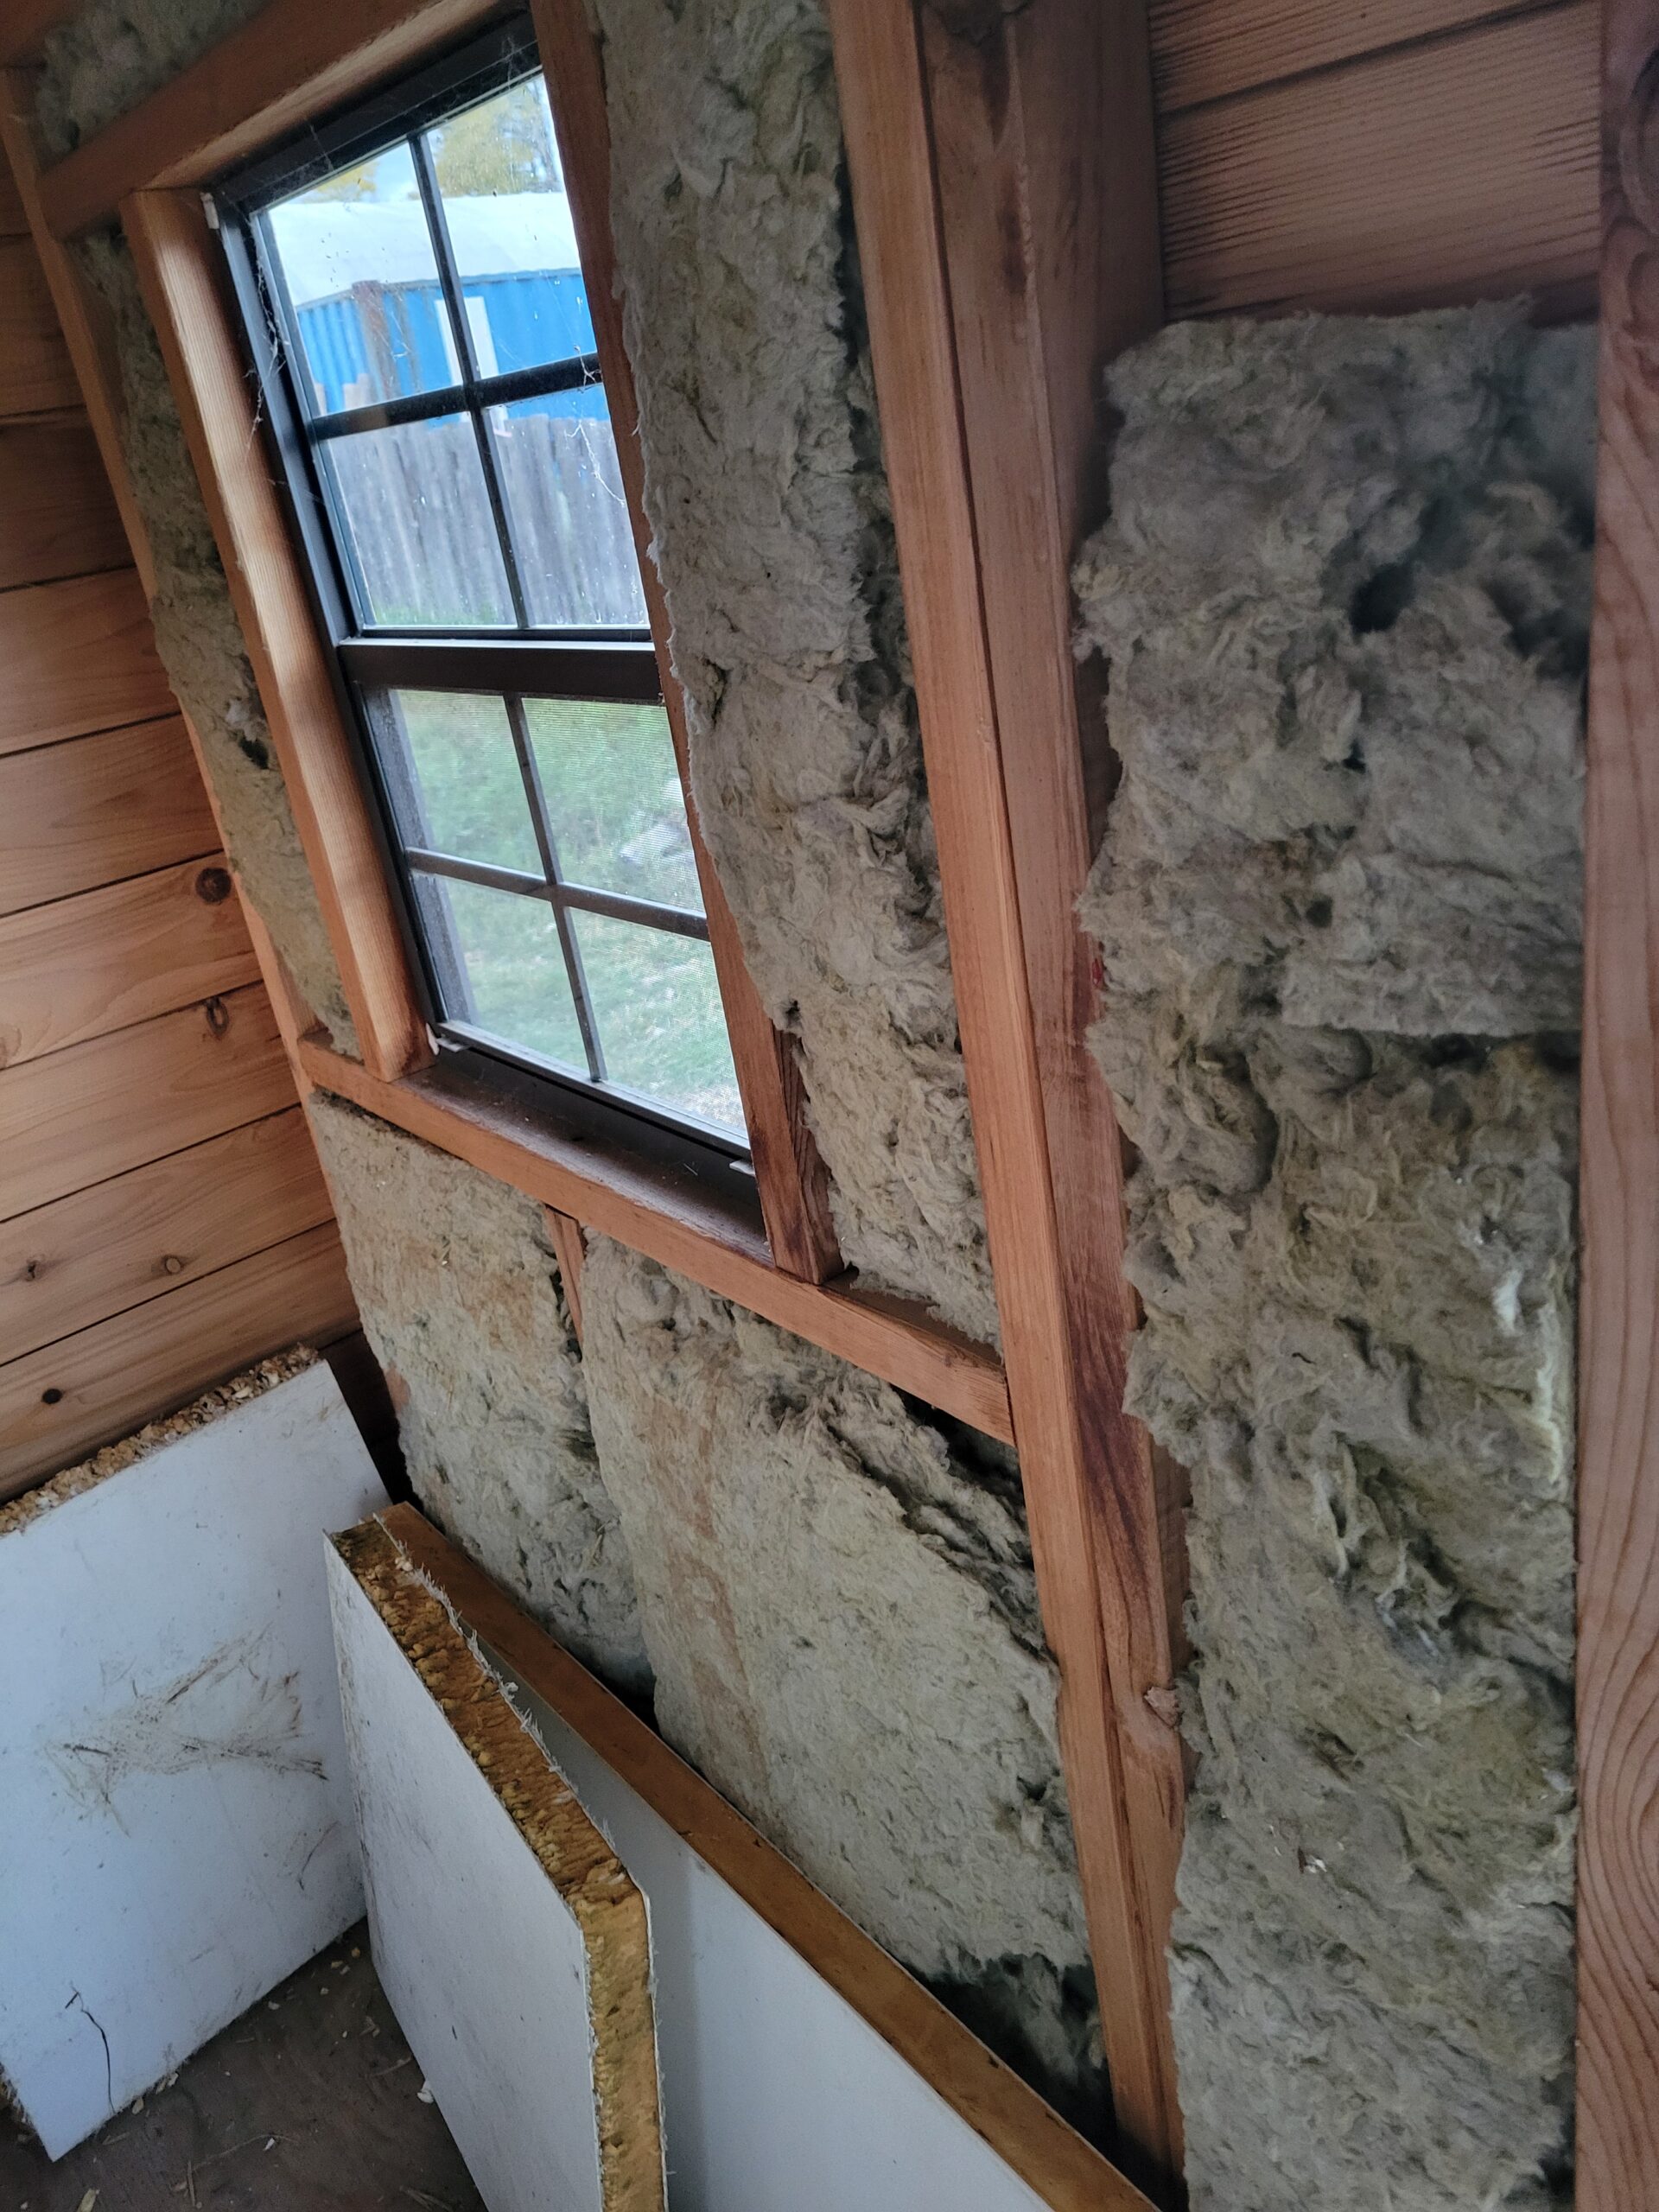
Some of the panels had perfectly usable insulation in them, so we left those. Dave gifted us some thick styrofoam sheet insulation as well, so we initially thought we would complete the wall paneling with them. It was quickly discovered that the sheets were angled (for a custom job of some kind), so without a lot of messy slicing, they would not work for the walls or interior roof. They were, however, great for underneath the floor and for stuffing along the outer eaves. After watching some YouTube videos showing how quickly spray foam, styrofoam, and even fiberglass insulation combust, melt, and/or give off toxic gases when ignited, we decided that any new insulation needed in this project would be rockwool. It is formed from naturally occurring rock and minerals. Though more expensive, it is easy to work with (fits into any space without having to do precise measuring or cutting, and not itchy like fiberglass). Although any product can ignite, the chances of this happening with rockwool are very low, as the temperature would need to be extremely high. Insulating with rockwool was a job I could easily do myself, as you can easily fit it to any space.
*Since this time, I now have our Wiltshire Horn sheep. The wool they provide would be another, less expensive, natural alternative for insulation that is also more fire-retardant.
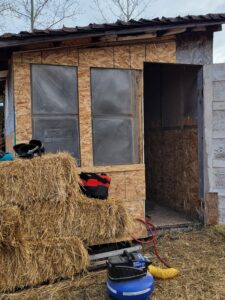
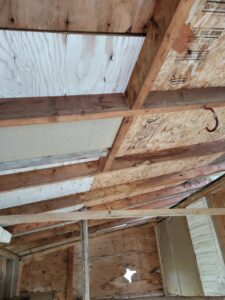
Meanwhile, the guys (my partner, Steve, my son, Cyngen, and our friends Dave and Dan) paneled the interior, including walls and roof, in between hunting and work schedules. I couldn’t do this part alone, especially since we had to keep moving the smaller shed around to get it out of the way, so it took longer, having to wait for when someone was available to help, but I very much appreciated the help! I’m sure others who could work straight through could have completed this part in a weekend, or if experienced (we are not exactly Lol!), even within a day. They left cutouts for some windows, which we made from some polycarbonate panels I had saved from a small aluminum greenhouse I had long ago that taught me the value of building something sturdy for our Alberta winds. It had been carried away in a wind storm despite being pegged down, and the light aluminum frame was in a pretzel-like state when we found it 2 fields over from where we had set it up. The panels, surprisingly, were quite resilient, so we doubled them up to form an insulation bubble of air in between to use as windows in the coop. If a silly chicken flew into one for some reason, they would harmlessly bounce off instead of meeting the unforgiving surface of a window pane. We also left one outer panel uninsulated, as that was where our
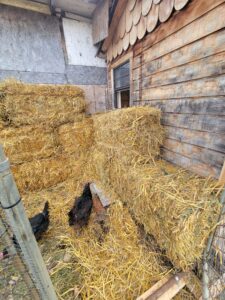
chicken door to the outdoor run would go. Anywhere that I could, I stacked square straw bales around the exterior walls, as they add more insulation and wind proofing should there be any cracks in the walls, around the doors, etc.
Are you still wondering about the smaller interior shed? We’re getting to that now. We insulated it with these interesting sheets that appear to be fiberglass panels with foam insulation in between (possibly from salvaged RVs?). Steve picked them up from a neighbor down the road who seems to specialize in selling all things odd and unusual, yet quite often also useful.
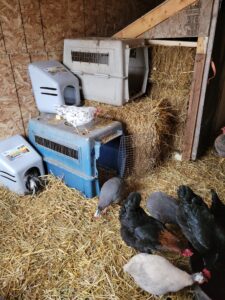
We mounted roost bars, nest boxes, and LED lights in both the outer and inner coops, and here is why. If the weather were to be warmer than -25 °C, the flock could stay in the outer coop with no additional heat source (chickens produce 10 Watts of heat each, plus the insulation and straw bedding to keep things pretty toasty most of the time). If the temp dropped below -25 °C, then we could shuffle the flock into the inner coop and close them in for the night. If needed, we could then run a small heater, whether electric, propane, oil, or diesel, to give the ambient temperature a boost. We have tried them all, and they all work and are safe with proper venting and no contact with the poultry. However, each method has different pros and cons, so decide what method may work for your own situation. We found the electric heater would only work with no contact with the poultry and on a fireproof base of some kind because of the possibility of igniting should something touch the elements. You also need access to power, and electricity is not exactly cheap these days. Propane was great, except again, there is a flame, so no contact with the poultry, and as the temperature dropped, the propane tank could also freeze. Oil was great and safe, but because it works through radiant heat, it took too long and could not keep up when the temperature got below -10 C in the coop (which usually meant it was -25 C or more outside). For us, the diesel heater with venting outdoors has been the best method thus far, and we generally only need to use it for the equivalent of 1 or 2 weeks out of the entire winter. Quite often, there is a period of close to a week of -30 C or colder and an additional sprinkling of some cold nights here and there throughout our Alberta winter, and the remaining season is -20 C or warmer, so easily managed without additional heat sources.
This brings us to:
Part 3. The Chook Nook. We barely completed the first winter coop (and the adjacent covered chicken
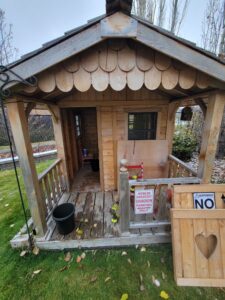
run, but that’s another topic), when we realized I was going to need more space if I was going to get my breeder flocks separated earlier in the season and be able to overwinter more birds for my layer flock. I came across a cute cedar playhouse that some loving grandfather had put a lot of effort into for his grandkids. Alas, another couple had purchased the property and now wanted to remove the playhouse from the yard since they had no children. For a low price and some elbow grease, we were able to dismantle and transport the structure in pieces back to our farm. We reassembled it, attaching it to the existing winter coop. I was initially going to cut the adjoining wall out to put in a mesh screen for shared heat, but Steve advised me to keep them separate. This was to maintain the strength of that wall, be able to quarantine different flocks somewhat if needed, and to gain increased insulation value. We could address the heating issue by putting a much smaller venting hole in between the 2 structures, or utilizing 2 smaller heaters when needed instead of one larger one (redundancies in case one crapped out, etc.).
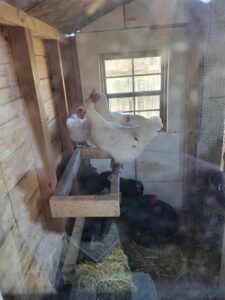
I still have a bit of tweaking left, but there is a mesh screen dividing the Chook Nook in half to allow 2 groups of birds to be kept. I still need to put in a screen door between the 2 areas to allow easier access, insulate the door (we are using the same triple insulation method as per the winter coop – rockwool, RV panels?, and straw bales), and build one more covered chicken run, but each side has its own chicken door to its own run (using the existing windows on the playhouse), nest boxes, and roosts. Next spring, I will even reinstall the cute little porch deck so I can watch my flocks of birds and sheep from the comfort of a hammock swing:)!
You must be logged in to post a comment.